Create Campaign
Select the Create Campaign button in the header.

If you are an Agency, you will first select your client . If you are a Direct Advertiser you will not see this option.
Step One - Choose your Campaign Type
The campaign wizard will guide you through a couple of steps to help you select the product to best align with your goals.
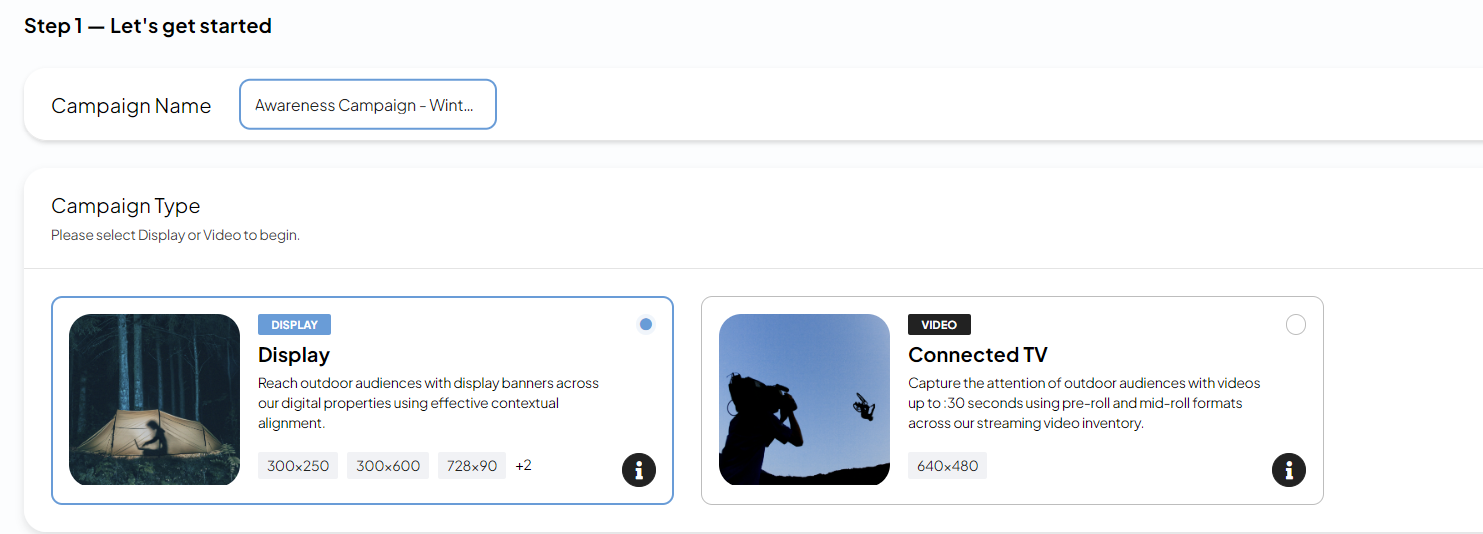
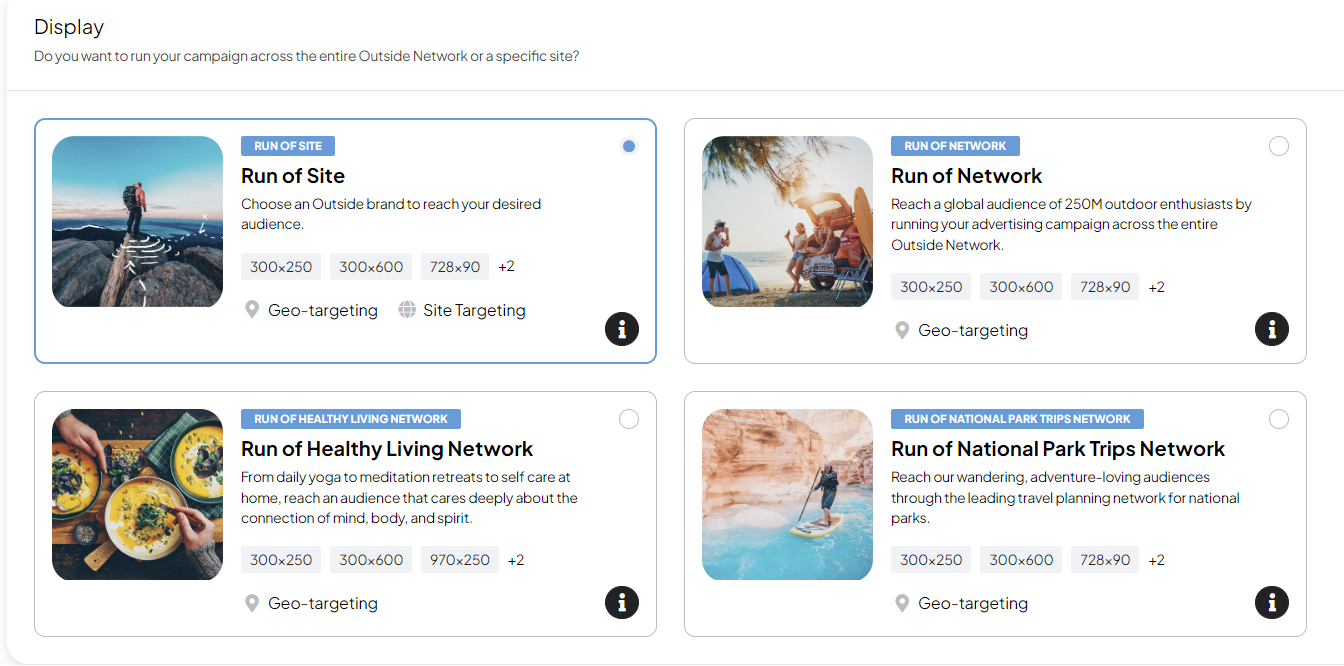
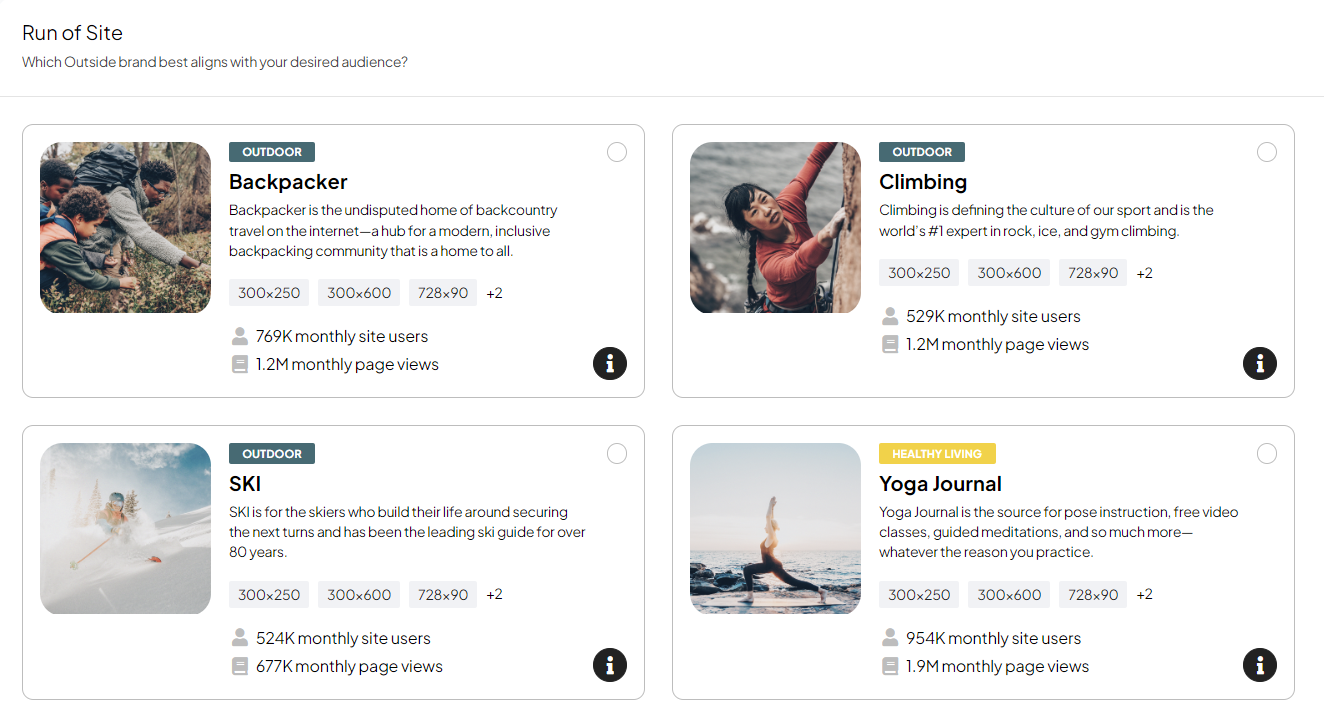
Depending on what you select you will see one or several products. Select the product that is most relevant to you.
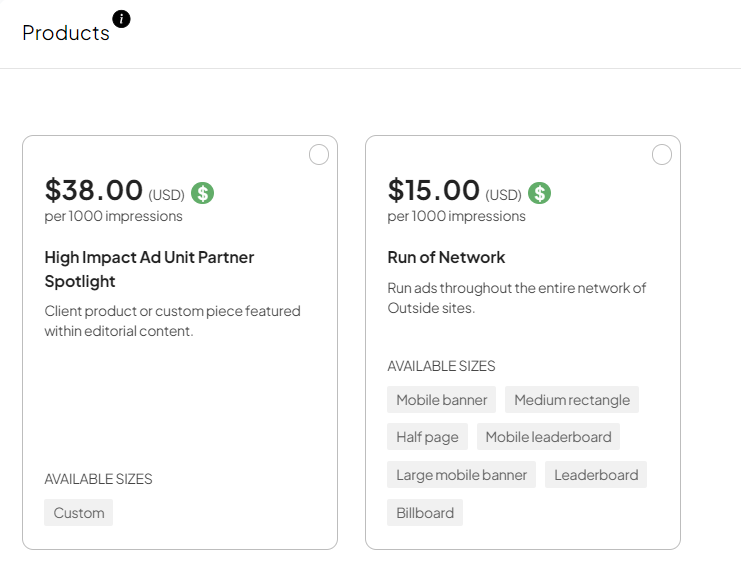
When you select a product you can preview all available ad sizes/ad slots in the side panel.
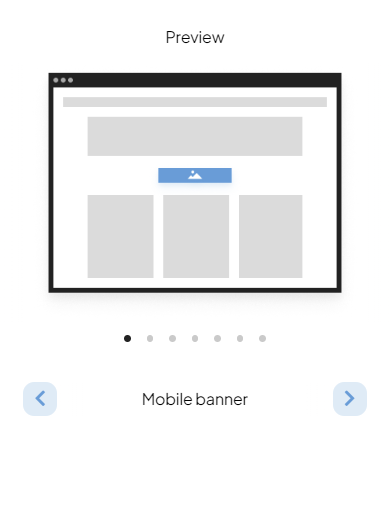
To continue building your campaign click Next.
Schedule and budget
Schedule and Budget is often Step 2 in the campaign wizard. Depending on the product you selected, your options for each step might be different.
You will set the Start and End date. You can always change the dates later, at least until you have paid for the campaign. After checkout you can only change the end date.

You can set your budget in dollars or impressions, and you will only pay for what was actually delivered delivered. For example, if you set a campaign budget of $900, you will pay $900 upfront. However, if the campaign does not deliver $900 worth of impressions, you will receive a refund.

Availability
The platform will check impression availability continuously as you are building your campaign. You will be notified if there is limited availability.
If availability is high this is good news for you. You can consider increasing your budget or narrowing your targeting for a more targeted campaign.
If availability is low, you can consider increasing the length of your campaign, lowering your budget, or broadening your targeting.
Targeting options
The next step when building your campaign is adding your targeting. This is where you control where and to whom your ads are shown. Remember, depending on the product you selected, you targeting options may differ.
For a more complete description of targeting check the Targeting section.
Geography
Geo-targeting is probably the most commonly used targeting method. Here you can specify if your ads should be shown only to audiences viewing your ad from specific locations.

Creatives
After you select your targeting you will add your creatives. Creatives are the actual ads which will be shown to your audience. You can add creative while creating your campaign or skip this step and add your creative later.
Review
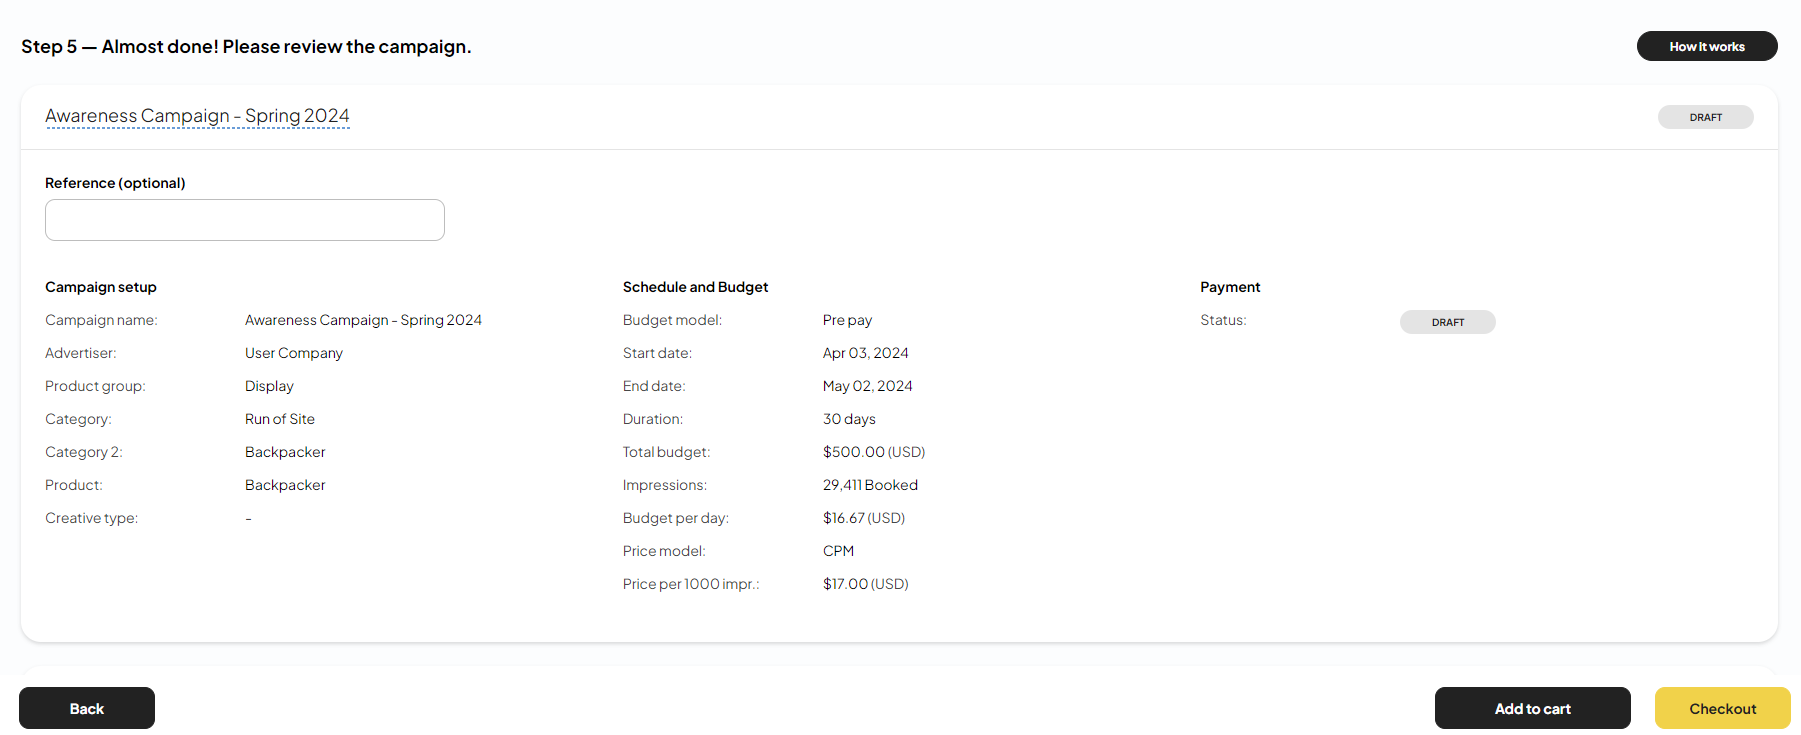
Review your campaign details before you checkout. When you are done you can either add the campaign to your cart (campaign will be saved in Draft status) or Checkout.
Campaign status
Campaigns are automatically saved as DRAFTS once you get to the Schedule and Budget step. After you have paid for a campaign, the status will change to PENDING. Once the campaign reaches its start date and if there is at least one approved creative, the status will change to LIVE.
Checkout
Read all about your checkout options here.
